
I first made these at my local mother-and-baby group. These are completely unique, cheap to make and keep little ones busy for hours. Teddy still plays with the one I made him at 4 months old!
⚠️ WARNING : all homemade toys come with a risk and your baby should not be left alone with them. Check toys regularly for damage and, if required, discard responsibly. ⚠️
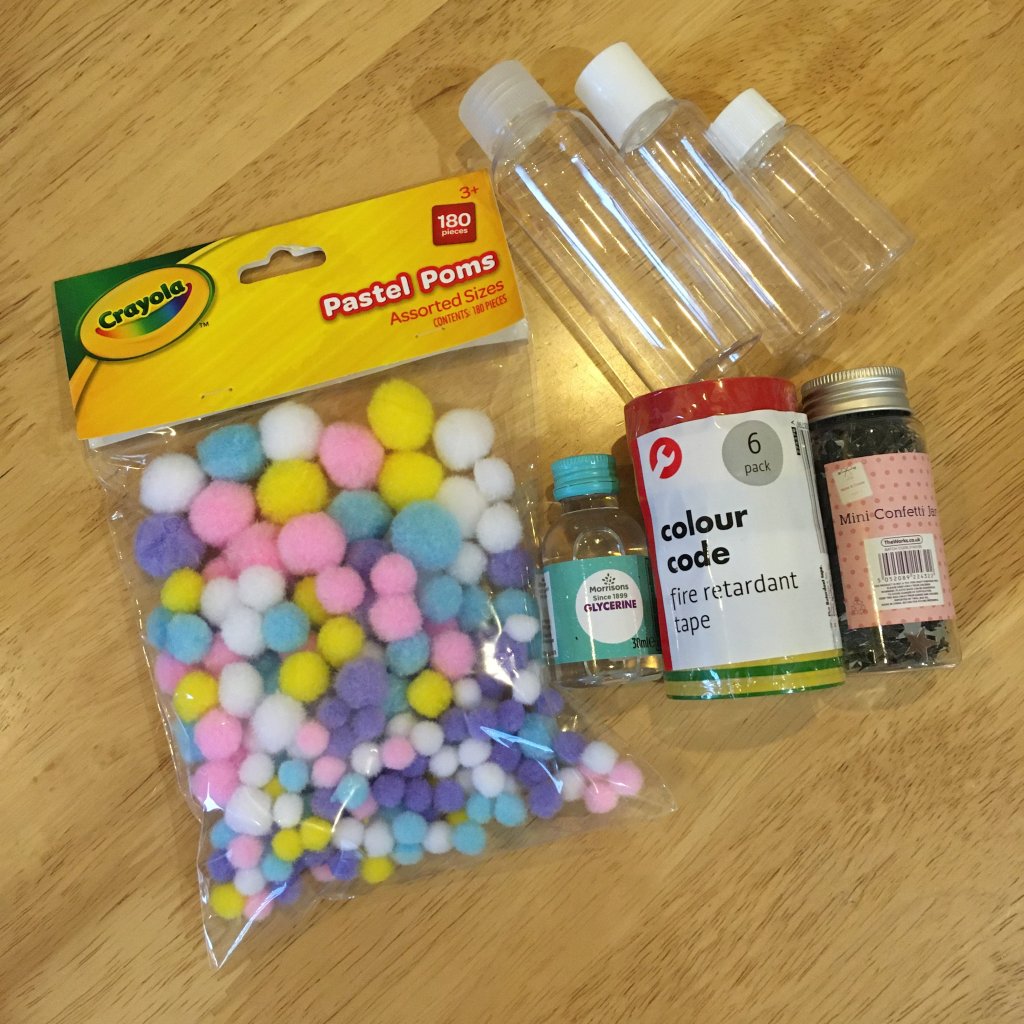
Sensory Bottles
You’ll need:
• Small clear bottles (travel-size shampoo bottles work well)
• Sequins, pom poms, beads, glitter… whatever you fancy!
• Water
• Glycerine (you can find this in the home baking aisle of the supermarket in a small bottle similar to food colouring)
• Super glue
• Scissors
• Electrical tape
Method:
1) Put your sequins etc. in to the empty bottle. Add a combination of different textures and colours as they will all act differently once submerged.
2) Half-fill the bottle with water, then add half of the small bottle of glycerine. This will thicken the water to make the contents float around slower. Continue to fill the bottle with water until it is full.
3) Screw on the lid and give it a good shake. If you are happy with your creation, secure the lid with super glue and wrap electrical tape tightly around the seal for added protection.
4) Once the glue has had time to dry, pass it to your little munchkin and see what they think! Remember to check the bottle regularly for damage, usually caused by tiny teeth and fiddling fingers!

You can also try omitting the water & glycerine, then adding something like rice or lentils to make a shaker!
Have you tried making your own sensory bottles? What does your little one enjoy? Let us know in the comments!
